


Remote Provisioning: Create an HTML List View

In this post I will use the remote provisioning Visual Studio Extension explained in my previous post to create a Custom HTML view. In this demo what I will provision the following artefacts:
- Photos Document Library to store the Images
- Script library which will host the view JavaScript File
- Create a custom HTML view for the photo library which displays the images in a responsive lightbox
The example is just a simple prototype to showcase a new capability of the automated remote provisioning engine.
The steps are very simple:
- First Clone the github repo @https://github.com/ministainer/RemoteProvisioningAutomation

- Open the Visual Studio Extension Solution.
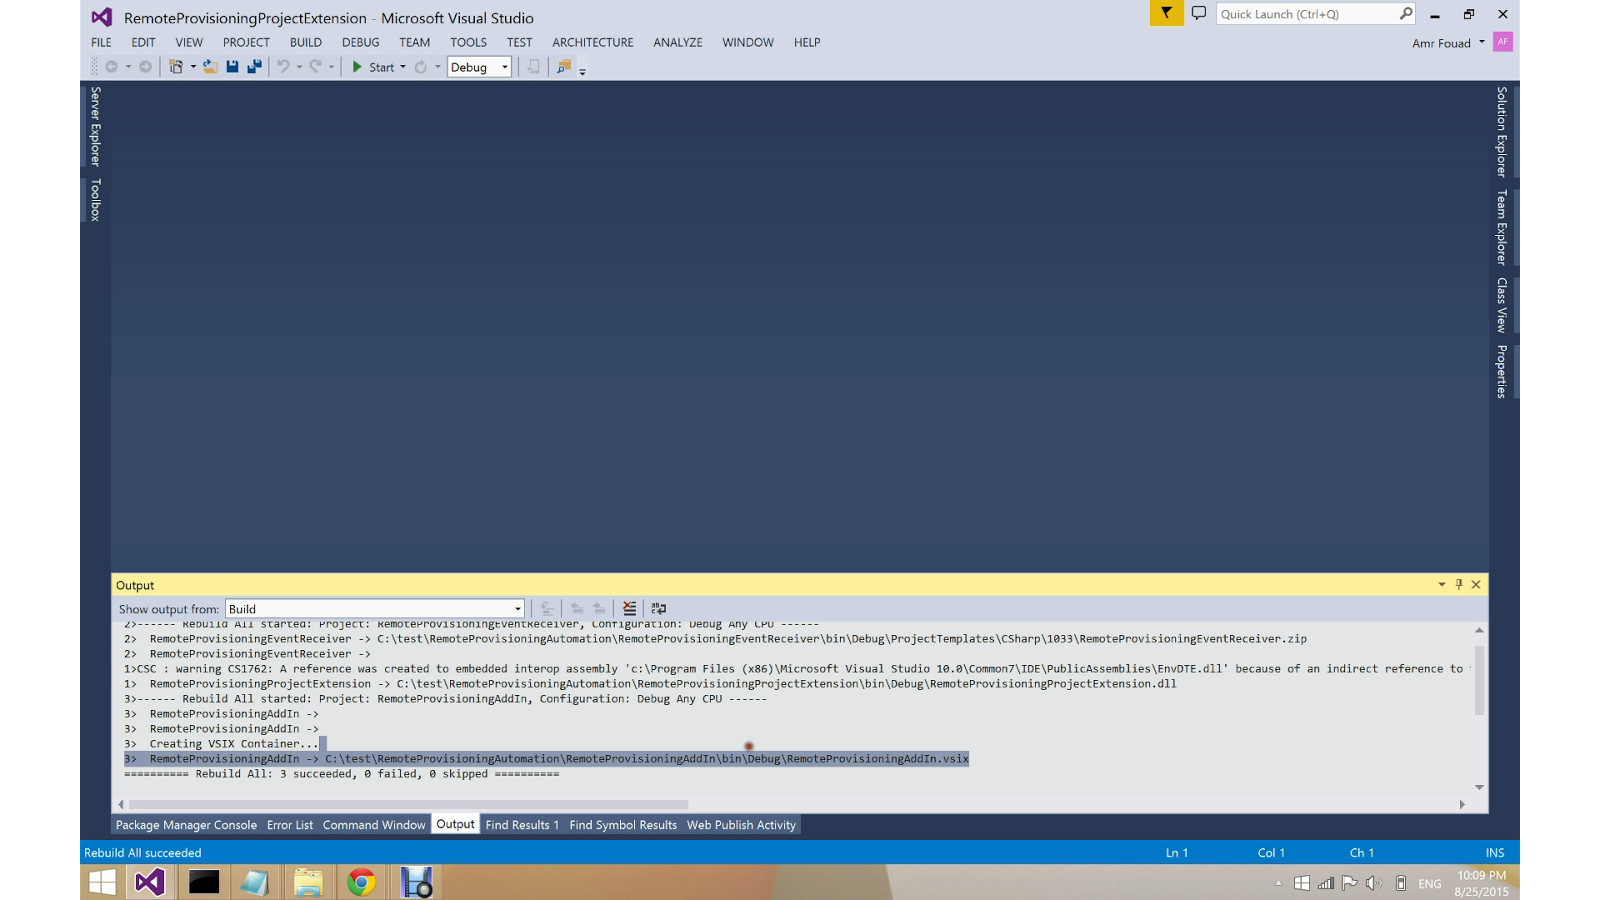
- Build the solution and Install the extension

- Create New Visual Studio SharePoint Add-In Project

- Right-Click and select "Enable Remote Provisioning"

- Go to samples folder copy all the content of the ImageViewer folder to the solution root folder

- Add the files to the solution

- Change the base Url in the ImageViewer.js file
- Deploy the SharePoint app to your Azure site, you need to obtain client Id and secret

- Now the Photos list we just created and copied files to it will appear as below


More features will be added to remote provisioning automation engine soon, stay tuned!
